Table of Contents
Regrow Vegetables — Using Only Your Groceries
A familiar saying has recently been receiving some viral attention: “Eventually, those who know how to grow food will be the only ones eating.” It may sound a bit far-fetched, but you might want to reconsider that after reading about the food scarcity problem the world is currently facing.
Growing your own food is making a comeback and dare we say, what a great trend indeed! So, let’s for a moment look past the easy way of simply buying a packet of seeds. Surely that’s not the only way to grow food?
Before you consider the seed from the fresh vegetables you buy at the store, you should know that foods that are genetically modified (which is practically everything, nowadays) often have infertile or sterile seeds — another downfall due to gene modification. Instead, we are going to look at ways you can regrow food from your normal grocery supply!
Potato / Sweet potato
Green finger grading: Very simple to grow
Time frame: ± a month until a new plant
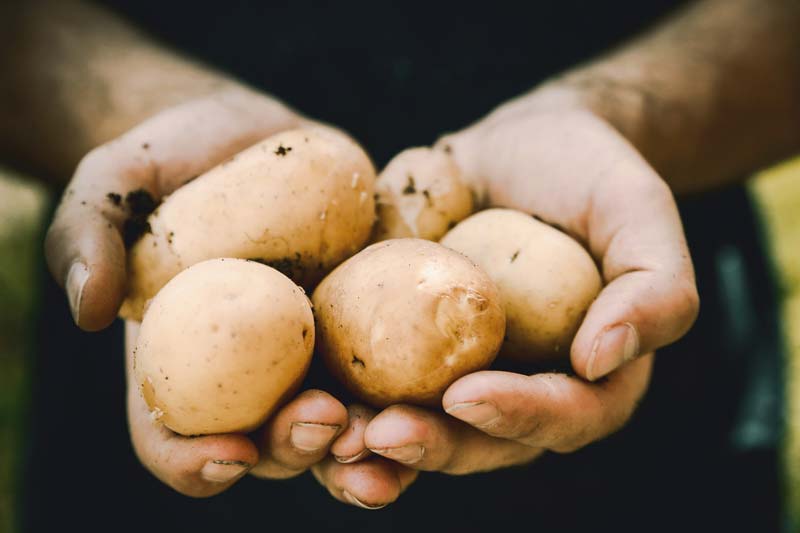
Potatoes and sweet potatoes are some of the most popular foods to regrow because it is such a simple process. All you need are potato peels with eyes on them. You can also use a potato that you’ve cut up into pieces or a potato that’s been lying forgotten in the cupboard. Allow the peels or potato pieces to dry out before planting them 5 cm deep, eyes facing upward. Keep the area irrigated, but not flooded, and allow about 3 to 4 weeks for your new potato plant to reveal itself.
Lettuce / Cabbage
Green finger grading: Very simple to grow
Time frame: Less than a week to plant out
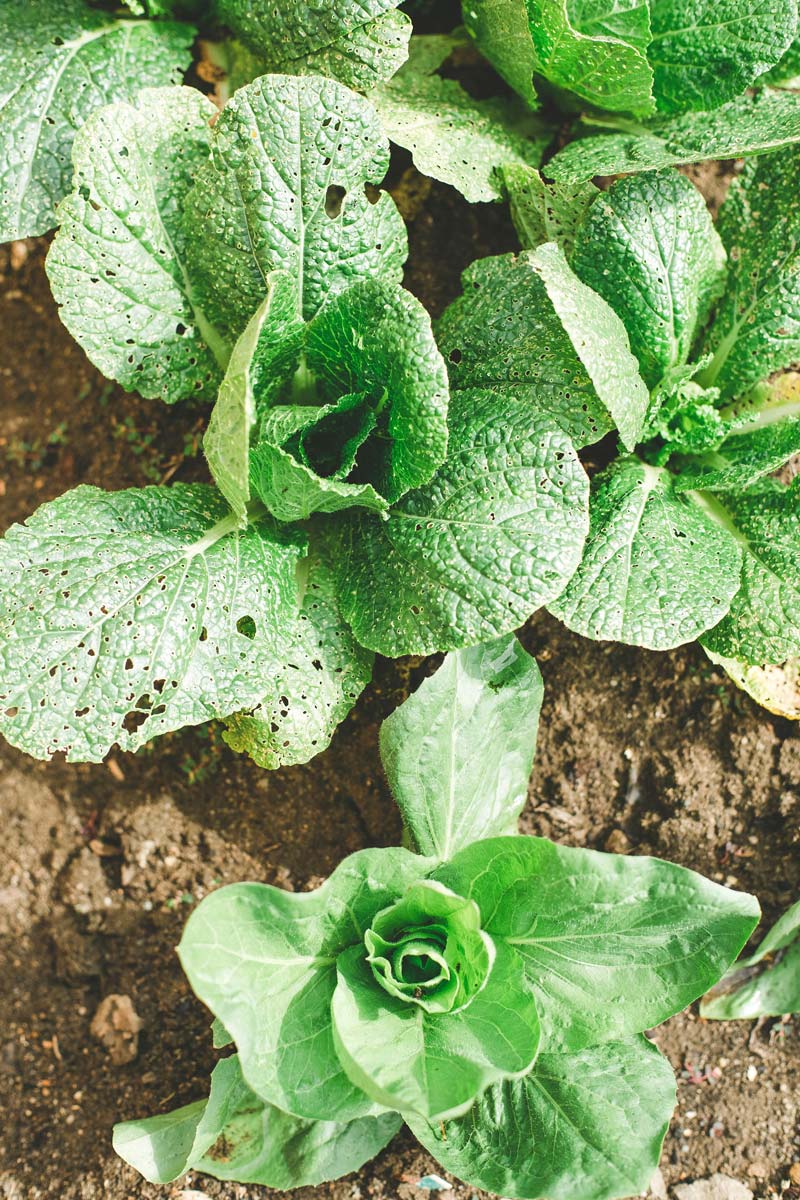
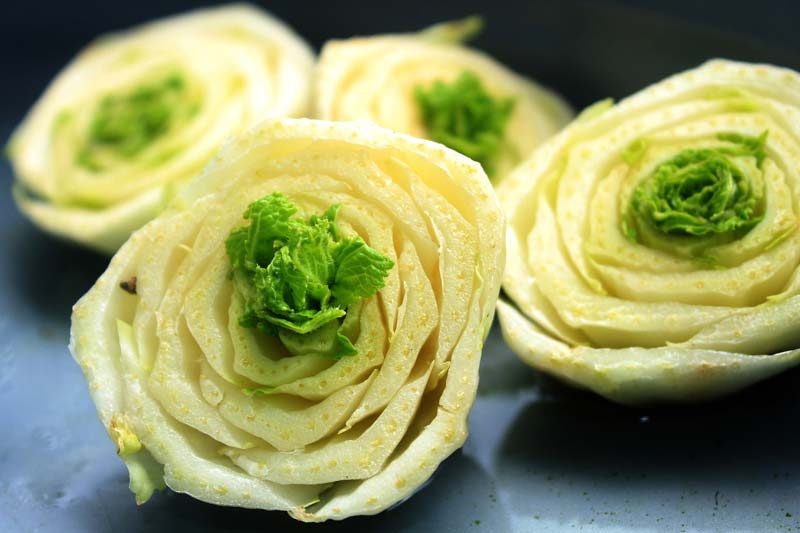
Lettuce, cabbage, and many other fleshy greens are so simple to regrow. Simply keep a few leaves in a bowl with some water. The leaves should not be completely covered in water. Keep the bowl in a sunny spot and feed the leaves fresh water every day. It’s also advisable to keep the entire leaf hydrated by spraying some water on it with a misty sprayer. After 3 to 4 days, you will see roots starting to form at the bottom of the leaves. Give the roots one day to get strong and then plant the leaves out into their new spot. Leafy greens enjoy sunny spots in the garden and lots of water.
Celery
Green finger rating: Very simple to grow
Time frame: ± 10 days until planting out
Growing celery is really easy to do. You need to keep the bottom of the plant that you buy at the grocery store. You should keep at least 1 to 2 inches long. Put it in water for at least 7 to 10 days and after this you can plant it directly in soil. Make sure to change the water every 1 or 2 days to keep mould away from it.
Garlic
Green finger rating: Very simple to grow
Time frame: ± 3 weeks until planting out
Garlic has two popular forms of regrowth: a single bulb where the main attraction is the green sprouts; and the fat bulb that has split into many cloves. The process for growing the latter takes much longer and requires diligence and patience. Take this into account before deciding which form of garlic you want to regrow.
If you’re after the single bulb: Take a few garlic cloves and put them in your refrigerator or in a dark cupboard. Within 2 to 3 weeks, the cloves will each start to sprout. As soon as the sprouts are 3 cm tall, plant the cloves out into an area that gets at least 6 hours of direct sunlight. Garlic is not a thirsty plant, so be careful to not overwater it. If you want to harvest before the bulbs split, wait for 3 to 4 months after planting out your sprouts before harvesting.
If you’re after the fat bulb with many cloves: Take a few cloves, remove any loose skin and wash the cloves. Plant the cloves in a sunny spot with the tail end of the clove facing upwards. Make sure that the soil is healthy and will not get waterlogged during the rainy season, as garlic can easily rot if overwatered. After about 2 weeks, you’ll start seeing green sprouts breaking through the soil. Water the garlic once in two weeks, depending on how dry your area is. If you want proper bulbs that have split into different cloves, you’ll have to wait until after winter to harvest. Once the green sprouts start turning yellow and die, you can harvest your garlic.
Onions / Green Onions
Green finger rating: Very simple to grow
Time frame: ± 2 weeks to plant out
For a mature onion to regrow, you need the bottom part of the onion where the roots would sprout from. From the roots, leave approximately 2 cm of the onion and slice off the rest. Press toothpicks in the sides of the onion so that you can suspend the root side of the onion in water. Keep the container in a sunny spot and change out the water daily. Within a few days, new roots will start to develop. You can plant out the onion when the roots are around 5 cm long. Depending on how big you want your onions to grow, you can harvest your mature onions after about 3 to 4 months.
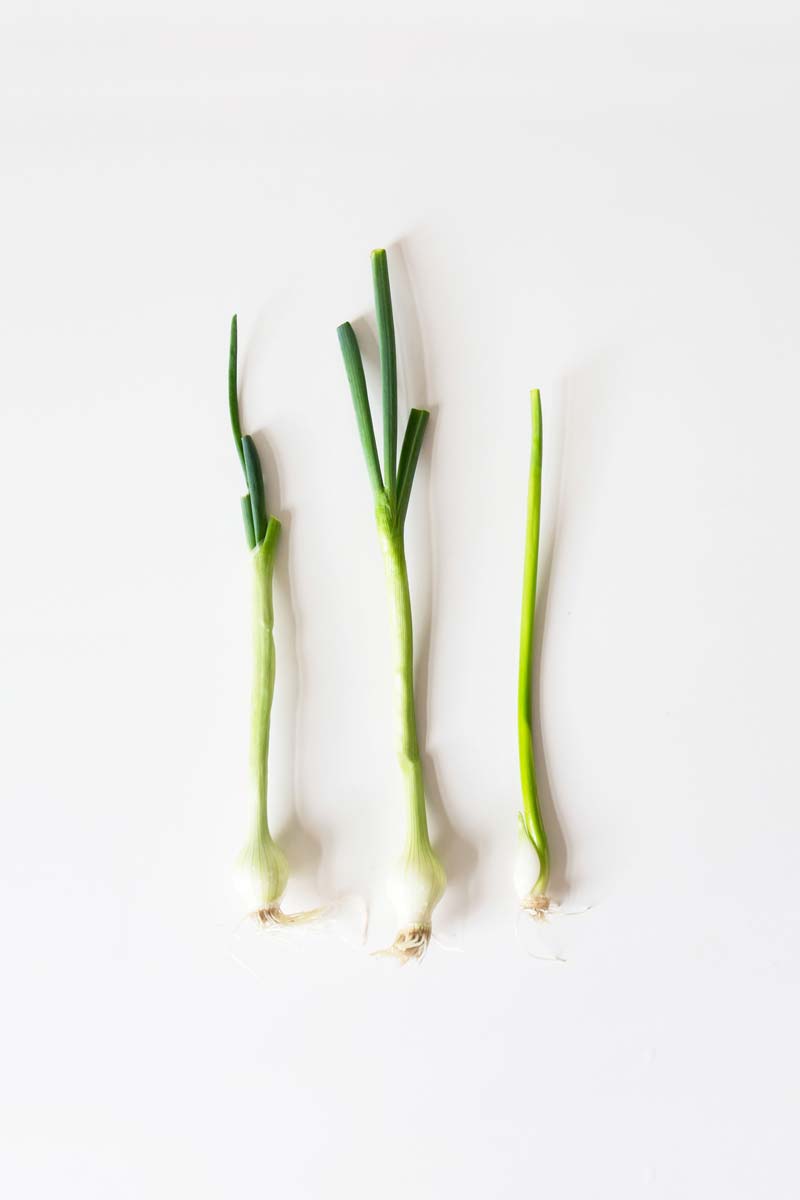
For green onions to regrow, the process works more or less the same. You need to cut away any green part from the bulb so that only the white bulb with its root system is left. Use toothpicks in the same way as with a mature onion to suspend the root section of the bulb in water. After a few days, you will start seeing small roots appearing. Wait until the roots are at least 3 to 4 cm long before planting out. You can harvest your new green onion after only 20 to 30 days!
Basil
Green finger rating: Very simple to grow
Time frame: ± a month to planting out
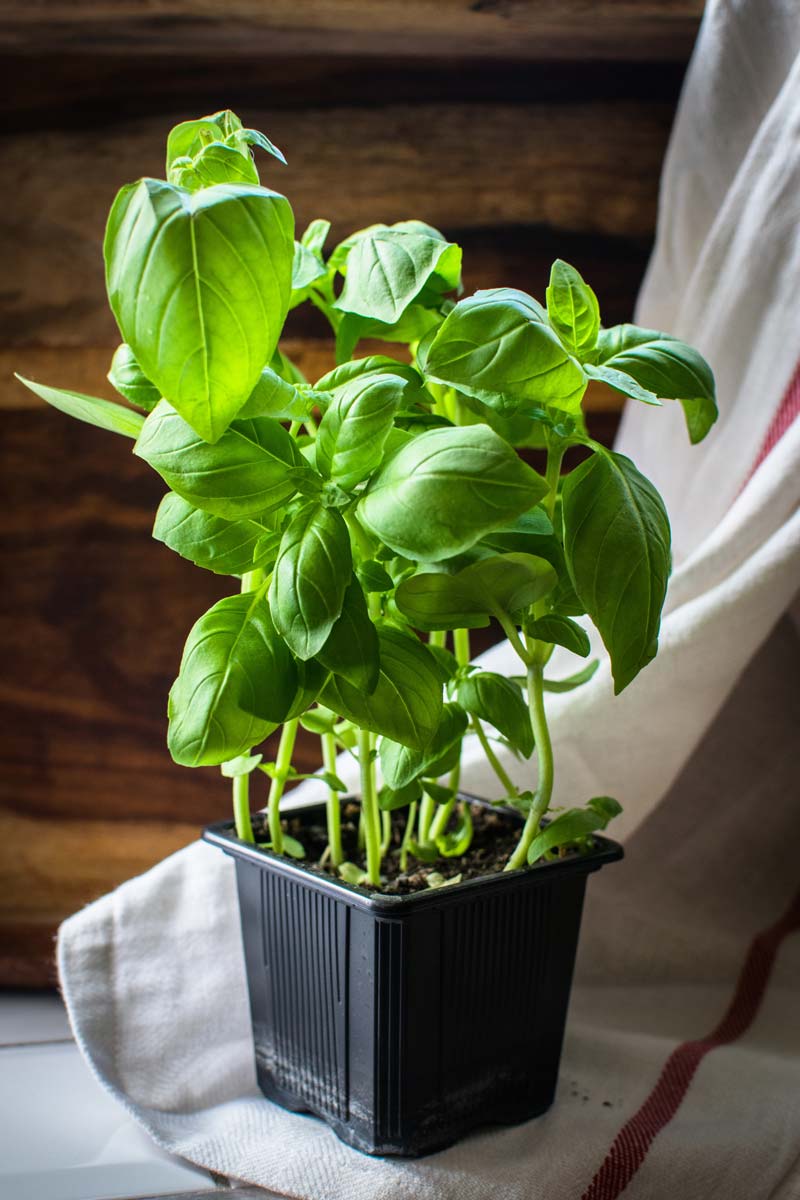
Although the main herb here is basil, the same principle can be applied to almost all herbs. Take a stem that is at least 10 cm in length and remove all the leaves with a sharp cutter, except the top leaves. Place the stem in a container of water and the container in direct sunlight. Change out the water every 2 days. After about 2 to 3 weeks, you’ll see small new roots starting to form. Keep up the process until the roots are approximately 5 cm long and then you may plant out your new basil plant. Herbs generally enjoy full sun and lots of water. As your basil plant grows you can continually harvest from it, as long as you don’t harvest everything at once and allow the plant some time for regrowth.
Avocado
Green finger grading: Simple to grow
Time frame: 45+ days until planting out
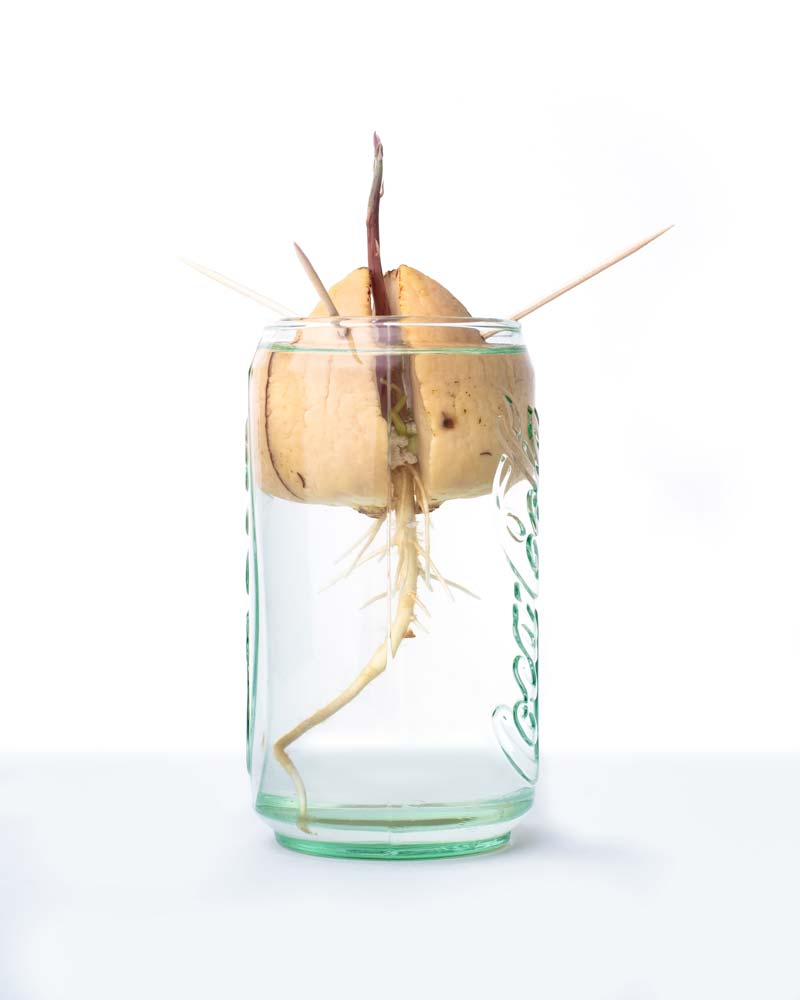
Keep the seed from the avocado and insert three toothpicks into the sides of the seed to allow it to be suspended in a container of water. Keep the container in a room with lots of light, but not in direct sunlight. Be sure to change the water every day, the seed loves clean water. After 2 to 3 weeks, the seed will split and a taproot will grow downwards into the water. Shortly after, a stem will start growing and leaves will appear. As soon as the second set of leaves appears, the seed may be planted out into its new spot. Beware that avocado trees can get quite big — make sure you allow for that when you choose its spot in the garden!
Turnip
Green finger rating: Simple to grow
Time frame: ± 2 weeks until planting out
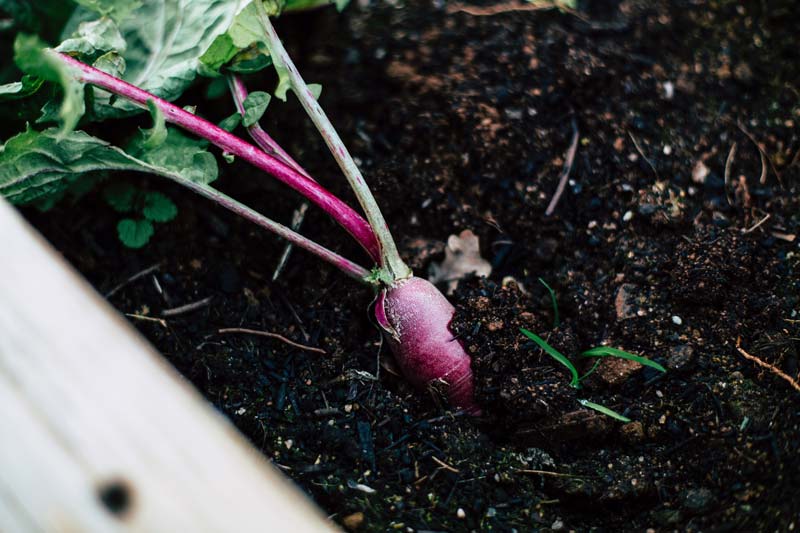
Regrowing turnips is simple and by now the process should start to sound familiar to you. When choosing a turnip to use, make sure you keep the top third of the bulb intact. Suspend the bottom part of the bulb in a glass of water, using toothpicks to keep it in position.
Keep the glass in a sunny area and change out the water every other day. After 4 – 5 days, you will see new greens sprouting from the top of the turnip, shortly followed by some root growth. Keep the process going until the root is strong enough to be planted out – this should be more or less 2 weeks after starting your process. Plant out the turnip in well-drained soil, in a sunny or semi-shady area.
Ginger
Green finger rating: A little complicated to grow
Time frame: ± a month until a new plant
To regrow ginger, you’ll need fresh ginger. Ginger has rhizomes — a root system similar to a stem, which continually grows underground. This means that you’ll only ever need a small piece of a rhizome to grow ginger for as long as you’d like. Take a piece of rhizome and soak it in warm water overnight. If you want to grow the ginger in pots, make sure you have pots that are wide in length, as ginger grows horizontally.
Plant the ginger rhizome sideways in the soil, approximately 5 cm deep. Make sure that the side with the buds is facing upward. Water the soil lightly after planting and then — be patient. Ginger enjoys warmth, but not direct light and the soil should be kept moist without overwatering.
Within 3 to 4 weeks, you’ll see new shoots sprouting up. Depending on how often and how much ginger you want to use, you’ll need to wait for anything between 3 to 10 months before harvesting. Remember, the more established your plant is, the more you’ll be able to harvest without having to wait too long for new growth.
Turmeric
Green finger rating: Complicated to grow
Time frame: ± a month till a new plant
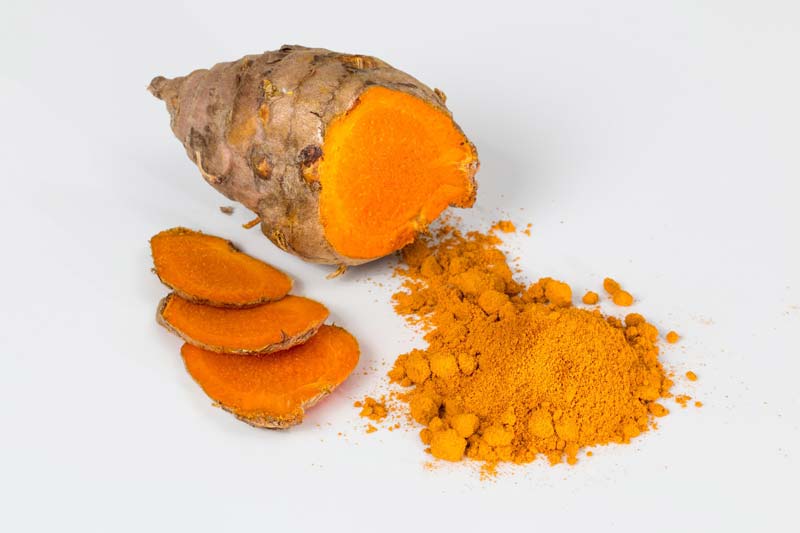
Just like ginger turmeric has rhizomes too, which means that you can harvest what you need in pretty much the same way as with ginger. The process of regrowing the turmeric is a bit different, though. Turmeric likes hot and humid areas, so you’ll need to be mindful of when you plant your turmeric. Your location is also important, as it will determine your success with growing turmeric outdoors.
After planting the rhizomes into new pots, cover the pots in clear plastic to encourage a higher humidity. Place your pots in a warm room, averaging around 90 degrees. If you don’t have a room that warm, try making your own germination chamber. Simply use a sturdy container (a cooler box would work perfectly), a small light or a heating pad, and a thermometer. Make sure that the soil is kept moist, but not soggy. After 3 to 4 weeks, you will start to see new growth break through the soil.
Keep up the initial process and mist the leaves every 2 to 3 days to encourage humidity. As the green leaves multiply, you may remove your pot from your germination chamber, depending on your weather conditions. If you want to plant out your turmeric, you may do so once the plants are 15 to 20 cm tall.
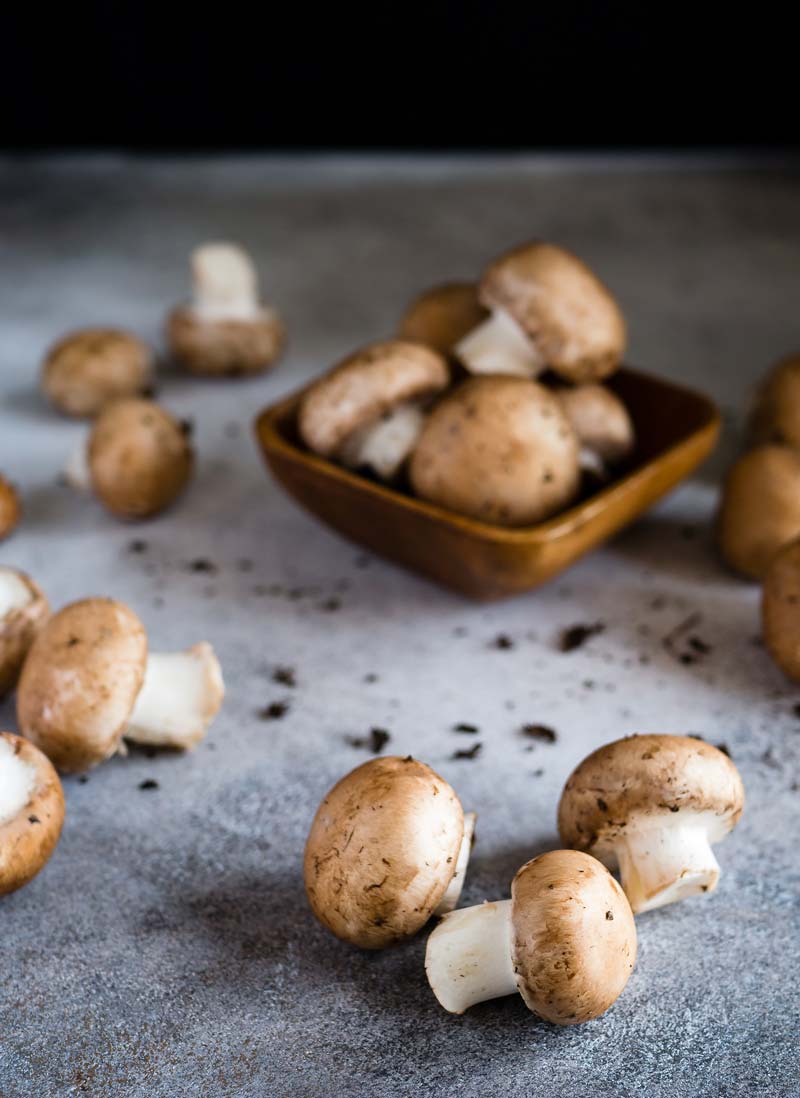
Mushrooms
Green finger rating: Complicated to grow
Time frame: ± 2 months to harvest
If you were ever up for a challenge, you should really consider growing your own mushrooms. Not only is it a complicated process, it can also be potentially dangerous, as you are breeding with fungi that can easily be altered without you realizing it. So, before embarking on this trip, make sure you are able to stick to the requirements!
When buying your mushrooms from the store, you need to keep the stems if you want to regrow the mushrooms. Keep stems that are at least half a centimeter long. Now here’s where it gets complicated: mushrooms do not grow in normal soil, because it is a fungi. Instead, it grows on moistened cellulose material, like straw or shredded cardboard boxes.
Simply soak the straw or box shreds for a few days. When you’re ready to plant your stems, take a box or plastic bag, pack a layer of your chosen medium and top it with some of the mushroom stems. Keep on creating these layers on top of each other until your box is full. Cover the box with some clear plastic and poke holes in the top for ventilation.
Keep your box in a dark area and make sure to keep your medium moist. After approximately 2 to 3 weeks, you’ll start to see new growth, and around 2 months after starting this process, your new mushrooms will be ready to harvest.
Not only is growing your own food considered safer, but it’s also actually pretty easy! Now that you have no excuses, start at the top of the list and work your way down, to eventually supply yourself with your own food. It’s the healthy, simple way!
