Table of Contents
The French do everything correctly, from the kiss to the perfumes to the Eiffel Tower. Everything is beautiful and elegant. Their beauty routines are equally as slick. The French manicure is an excellent technique to keep your hands and nails in excellent condition, both visually appealing and robust enough to withstand hard tasks, allowing you to face the day with unwavering confidence.
This post will guide you on everything you need about this nail maintenance technique that is much more than a conventional manicure.
What Are the Basics for A French Manicure?
A French manicure takes little time. However, precision and the proper tools are required. Having all the necessary supplies is critical, so you can go one step at a time and stop once the French manicure method is completed. Consistency, speed, and precision are critical to perfecting your French manicure.
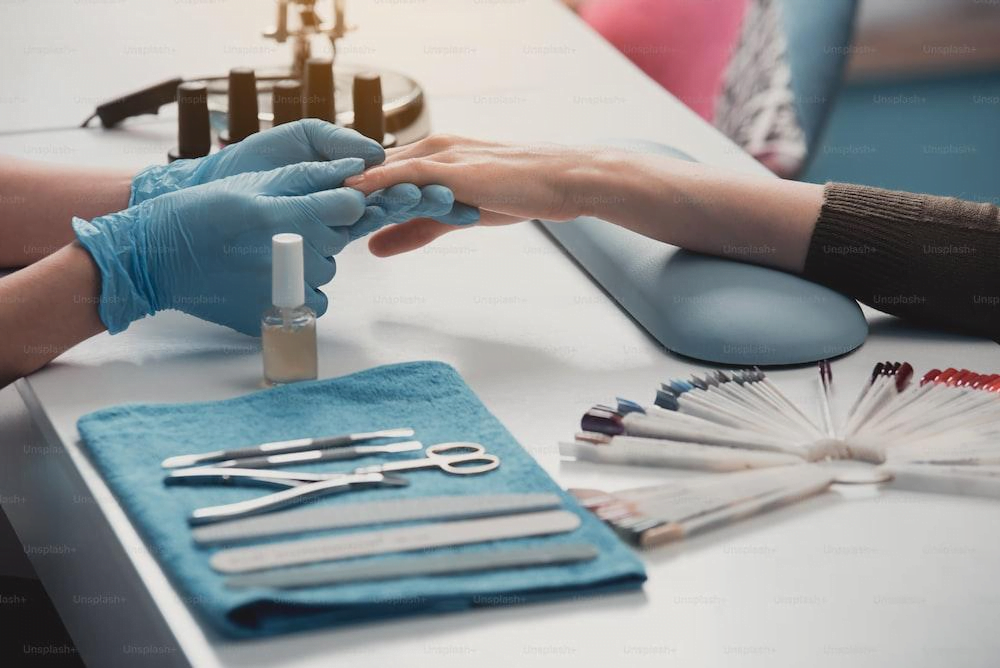
The first step is to gather everything you’ll need and keep it close by. Purchase everything you need, including cotton balls, nail paint remover, base coat, white polish, and topcoat. Significantly, you can get the best French nails by reviewing online on customer feedback from various clients to determine the most suitable. You can also look for nail varnish sets.
When you have everything together, it is time to begin the operation.
1. Remove Old Polish
To begin, if you still have remains of old nail lacquer on your nails, scrape them well with cotton pads and nail polish remover. Some colours become stuck along the edges of the nail, so use a cotton swab dipped in remover to get in there and clear things off.
2. Shape Your Nails and Soak
Next, file your nail tips to an exact shape. There are numerous nail forms to pick from, but we prefer to keep it natural with almond, oval, or rounder nail shapes.
Significantly, instead of filing back and forth, file your nails in one direction at a time. Go slowly so you can manage the form you’re making, and don’t overdo it.
Additionally, if you intend to trim or push back your cuticles, you must soften them with an at-home manicure soak. Fill a shallow dish with warm soapy water and dip your finger into the cuticle. Allow your fingertips to soak in the water for 2-3 minutes, then rest.
This should be lengthy enough to soften the cuticles but not long enough to saturate your nails with water, which could impair the integrity of your nail polish later on. However, if your cuticles are in good shape, you can skip this step entirely!
3. Push Back the Cuticles, Exfoliate and Moisturize
Remove your nails from the water and pat them dry with a gentle cloth. Then, using the cuticle pusher tool, softly press on your cuticles and gently push them back. If pushing on your cuticles causes pain, it’s an indication you’re doing too much, so lighten off on the pressure.
Notably, unless you already have professional knowledge, we don’t recommend trimming your cuticles at home. When trimming cuticles, it’s simple to injure them, which can lead to infections or cause the skin to thicken.
After that, it’s time to pamper your hands and cuticles! Exfoliate your hands with a scrub for the ultimate pampering. If your scrub is hydrating enough, rinse your hands and go to the next step. However, if you skipped the cleaning, massage your hands and nails with hand lotion or apply cuticle oil to the nails. Then, allow a few minutes for your nails to absorb as much oil as possible.
You can stop here for manicured nails! Moisturized, well-shaped nails are sufficient for classic French elegance. However, you must apply some polish to take your nails to the next level.
4. Remove Excess Moisture
Next, soak a cotton swab in nail paint remover and delicately wipe it solely over your nail, avoiding the cuticles. This removes excess moisture or oil from the nails, ensuring the polish adheres well. Allow the remover to evaporate entirely before proceeding to the next step.
5. Lay Down Your Base Coat
A base coat of polish is required to keep your nails from yellowing and to create an even base for the polish. Apply the base coat to each nail carefully, using only a small quantity so it dries quickly.
6. Apply Your Color
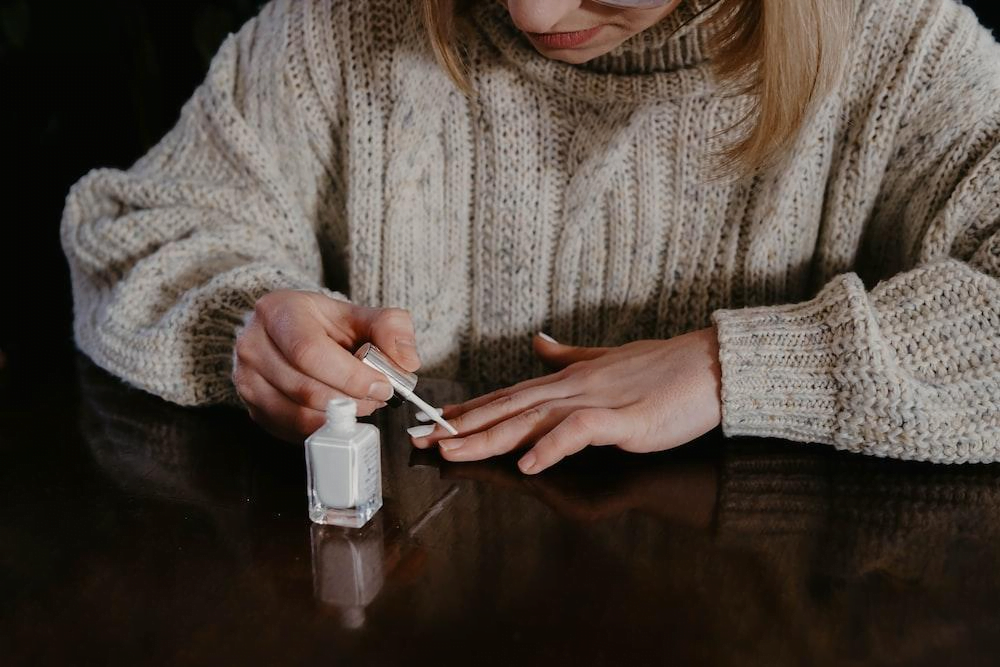
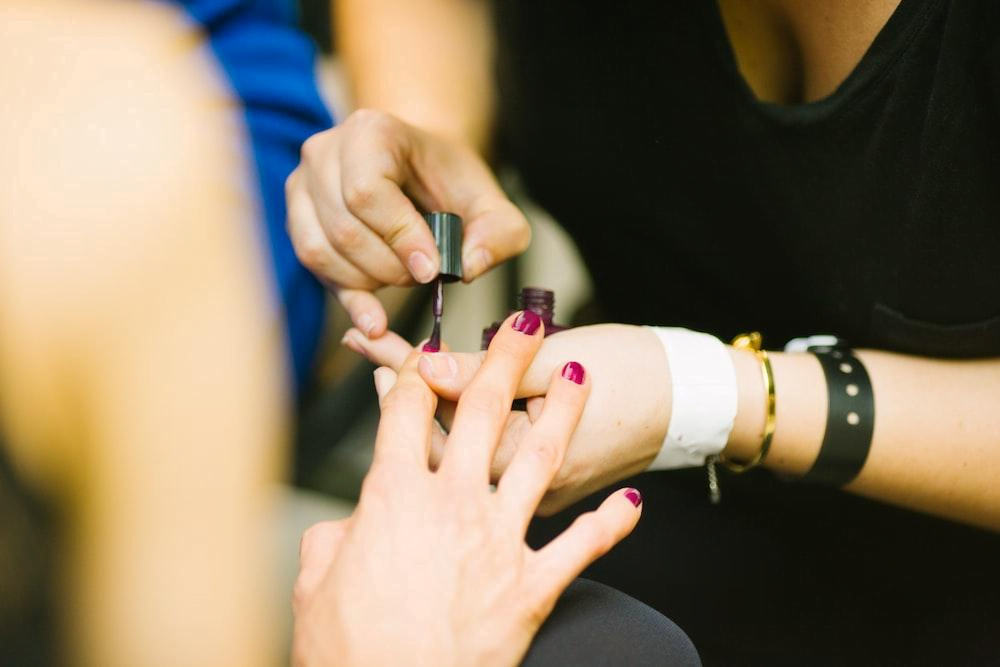
After your base coat has dried completely, you may apply your beautiful nail polish! Pink, peach, and nude are the traditional colors for a French manicure, but other colors are also appropriate.
Apply the polish in small layers, beginning approximately a millimeter away from the cuticle and working your way up. When the first coat has completely dried, add the second coat, then allow it to dry.
7. Finish With a Topcoat and Clean Up the Edges
Finish with an ultra-thin layer of topcoat once your polish has completely dried. This will assist in sealing all of your hard work, add luster, and keep your nail paint from flaking.
When your topcoat is completely dry, it’s time to correct any mistakes! Even the pros occasionally smear a little polish over the cuticle, but it’s easy to wipe up. Wet a cotton swab in nail paint remover to remove smudges.
Bottomline
Our nails need to be cared for, and getting frequent manicures is the most excellent way to keep them healthy. Many people like French manicure because of its benefits, and you can easily do it at home.
The ideal manicure can be achieved at home, but it will take some time and perhaps some practice. The next time you want to treat yourself to a French manicure, don’t be scared to skip the nail salon! Do a French manicure at home by following our tutorial.


